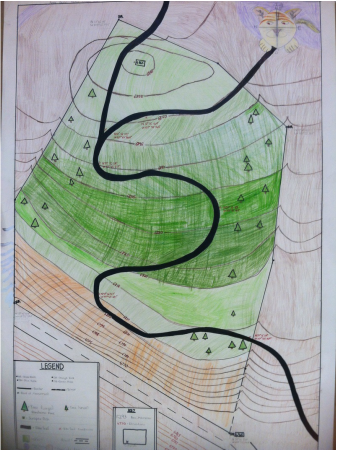
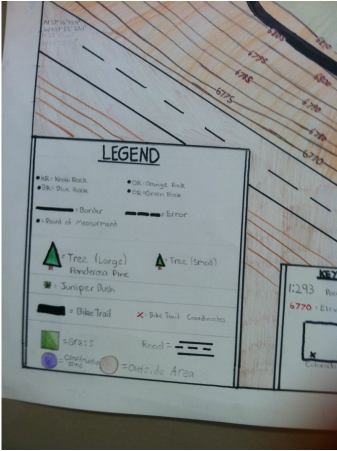
Topographic Map
|
|
Methodology Behind the Map
For this project we mapped an area of the Twin Buttes development topographically. We had to measure paces between the corner points and align our compasses with true north and measure the bearings of the direction we walked. Then we came up with a scale factor for our map of 1 pace to 2 millimeters. To draw the borders of our map, we used a full circle protractor and aligned 0 degrees with north. We then drew a mark at the correct degree, and were able to draw each of the border lines. We used Google Earth to gain a bird's eye view of our mapping zone. That really helped us to decide how far apart we should place the contour lines. Contour lines on a Topographic show elevations and terrain. On our map, there was five feet between each line. That means that areas where lines are closer together are steeper, and areas where they are spread apart are not as steep. You might need a Topo map if you hike, camp, or mountain bike.
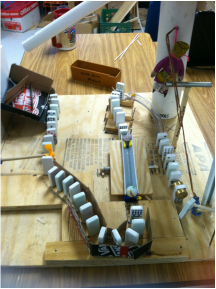
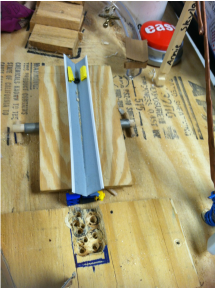
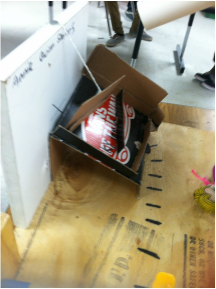
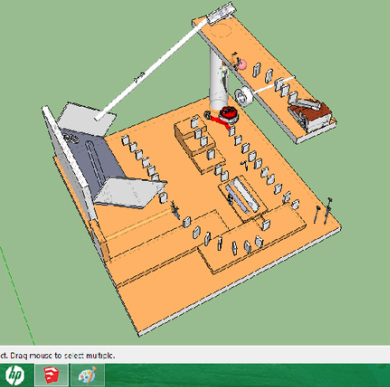
Rube Goldberg Project
|
|
|
|
|
|
Project Description
Rube Goldberg was an animator, comic, and the inventor of the Rube Goldberg machine. While he drew many of them in his cartoons, he never actually built one. A Rube Goldberg is a machine made up of a series of complex steps in order to achieve one simple task. For this project, our Rube had to have fifteen steps, run for fifteen seconds, and have three simple machines.
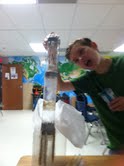
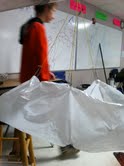
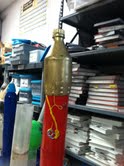
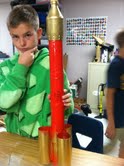
Rocket Project
|
|
|
|
Rocket Log
Day 6, Entry 1: Yesterday the stark was launched at 45 psi. Parachute did not deploy. Today we redesigned the parachute.
Day 7, Entry 2: Launched rocket at 70psi. The seems blew apart. Parachute destroyed.
Day 8, Entry 3: Re-glued rocket. Made a new parachute.
Day 9, Entry 4: Launched again at 70psi. Seems blew apart again.
Day 10, Entry 5: Re-Glued.
Day 11, Entry 6: Painted first coat on rocket.
Day 12, Entry 7: Painted coat number two.
Day 13, Entry 8: Officially christened The Stark!
Day 14, Entry 9: Did mental preperation for launch!
Rocket ReflectionAt our official rocket launch, I was measuring the angles of each rocket. I was so nervous when our rocket was loaded onto the launch pad. It was supposed to be launched at 60 psi, but Dave launched it at 110 psi. It suffered only a very minor pressure leak. (Dave is so lucky it didn’t blow up)!!!! When I saw that he nosecone was stuck and the parachute wasn’t going to deploy, I raced from my spot to catch it, but it crashed into the ground. Luckily, it had no cracks or anything broken. I was so relieved!!! Our design was fairly simple. Our pressure chamber comprised of three (thin) bottles. Our rocket had three tube fins. On the top there was another bottle to give it additional height and to the pressure chamber if it crashed. I think we could have used a better parachute design. It wasn’t the greatest. If I could give one piece of advice to any of next years freshman, it would be to use skinny bottles for the pressure chamber. (Not 2 liters)! |
Rocket Data Table
ConclusionOur rocket angle was 89* degrees. The observers who measured the angle were 174 feet away. The total flight time of The Stark was 7.94 seconds. Using these numbers we calculated the max height. The max height was 3,020* meters. With this data we calculated the average actual velocity to be 380.3* m/s. According to our max height, our theoretical flight time was 86.3 seconds. There is a 69.4% error in our calculations. The percent error is so high because the 89 degree angle that was measured is wrong.
| ||
